
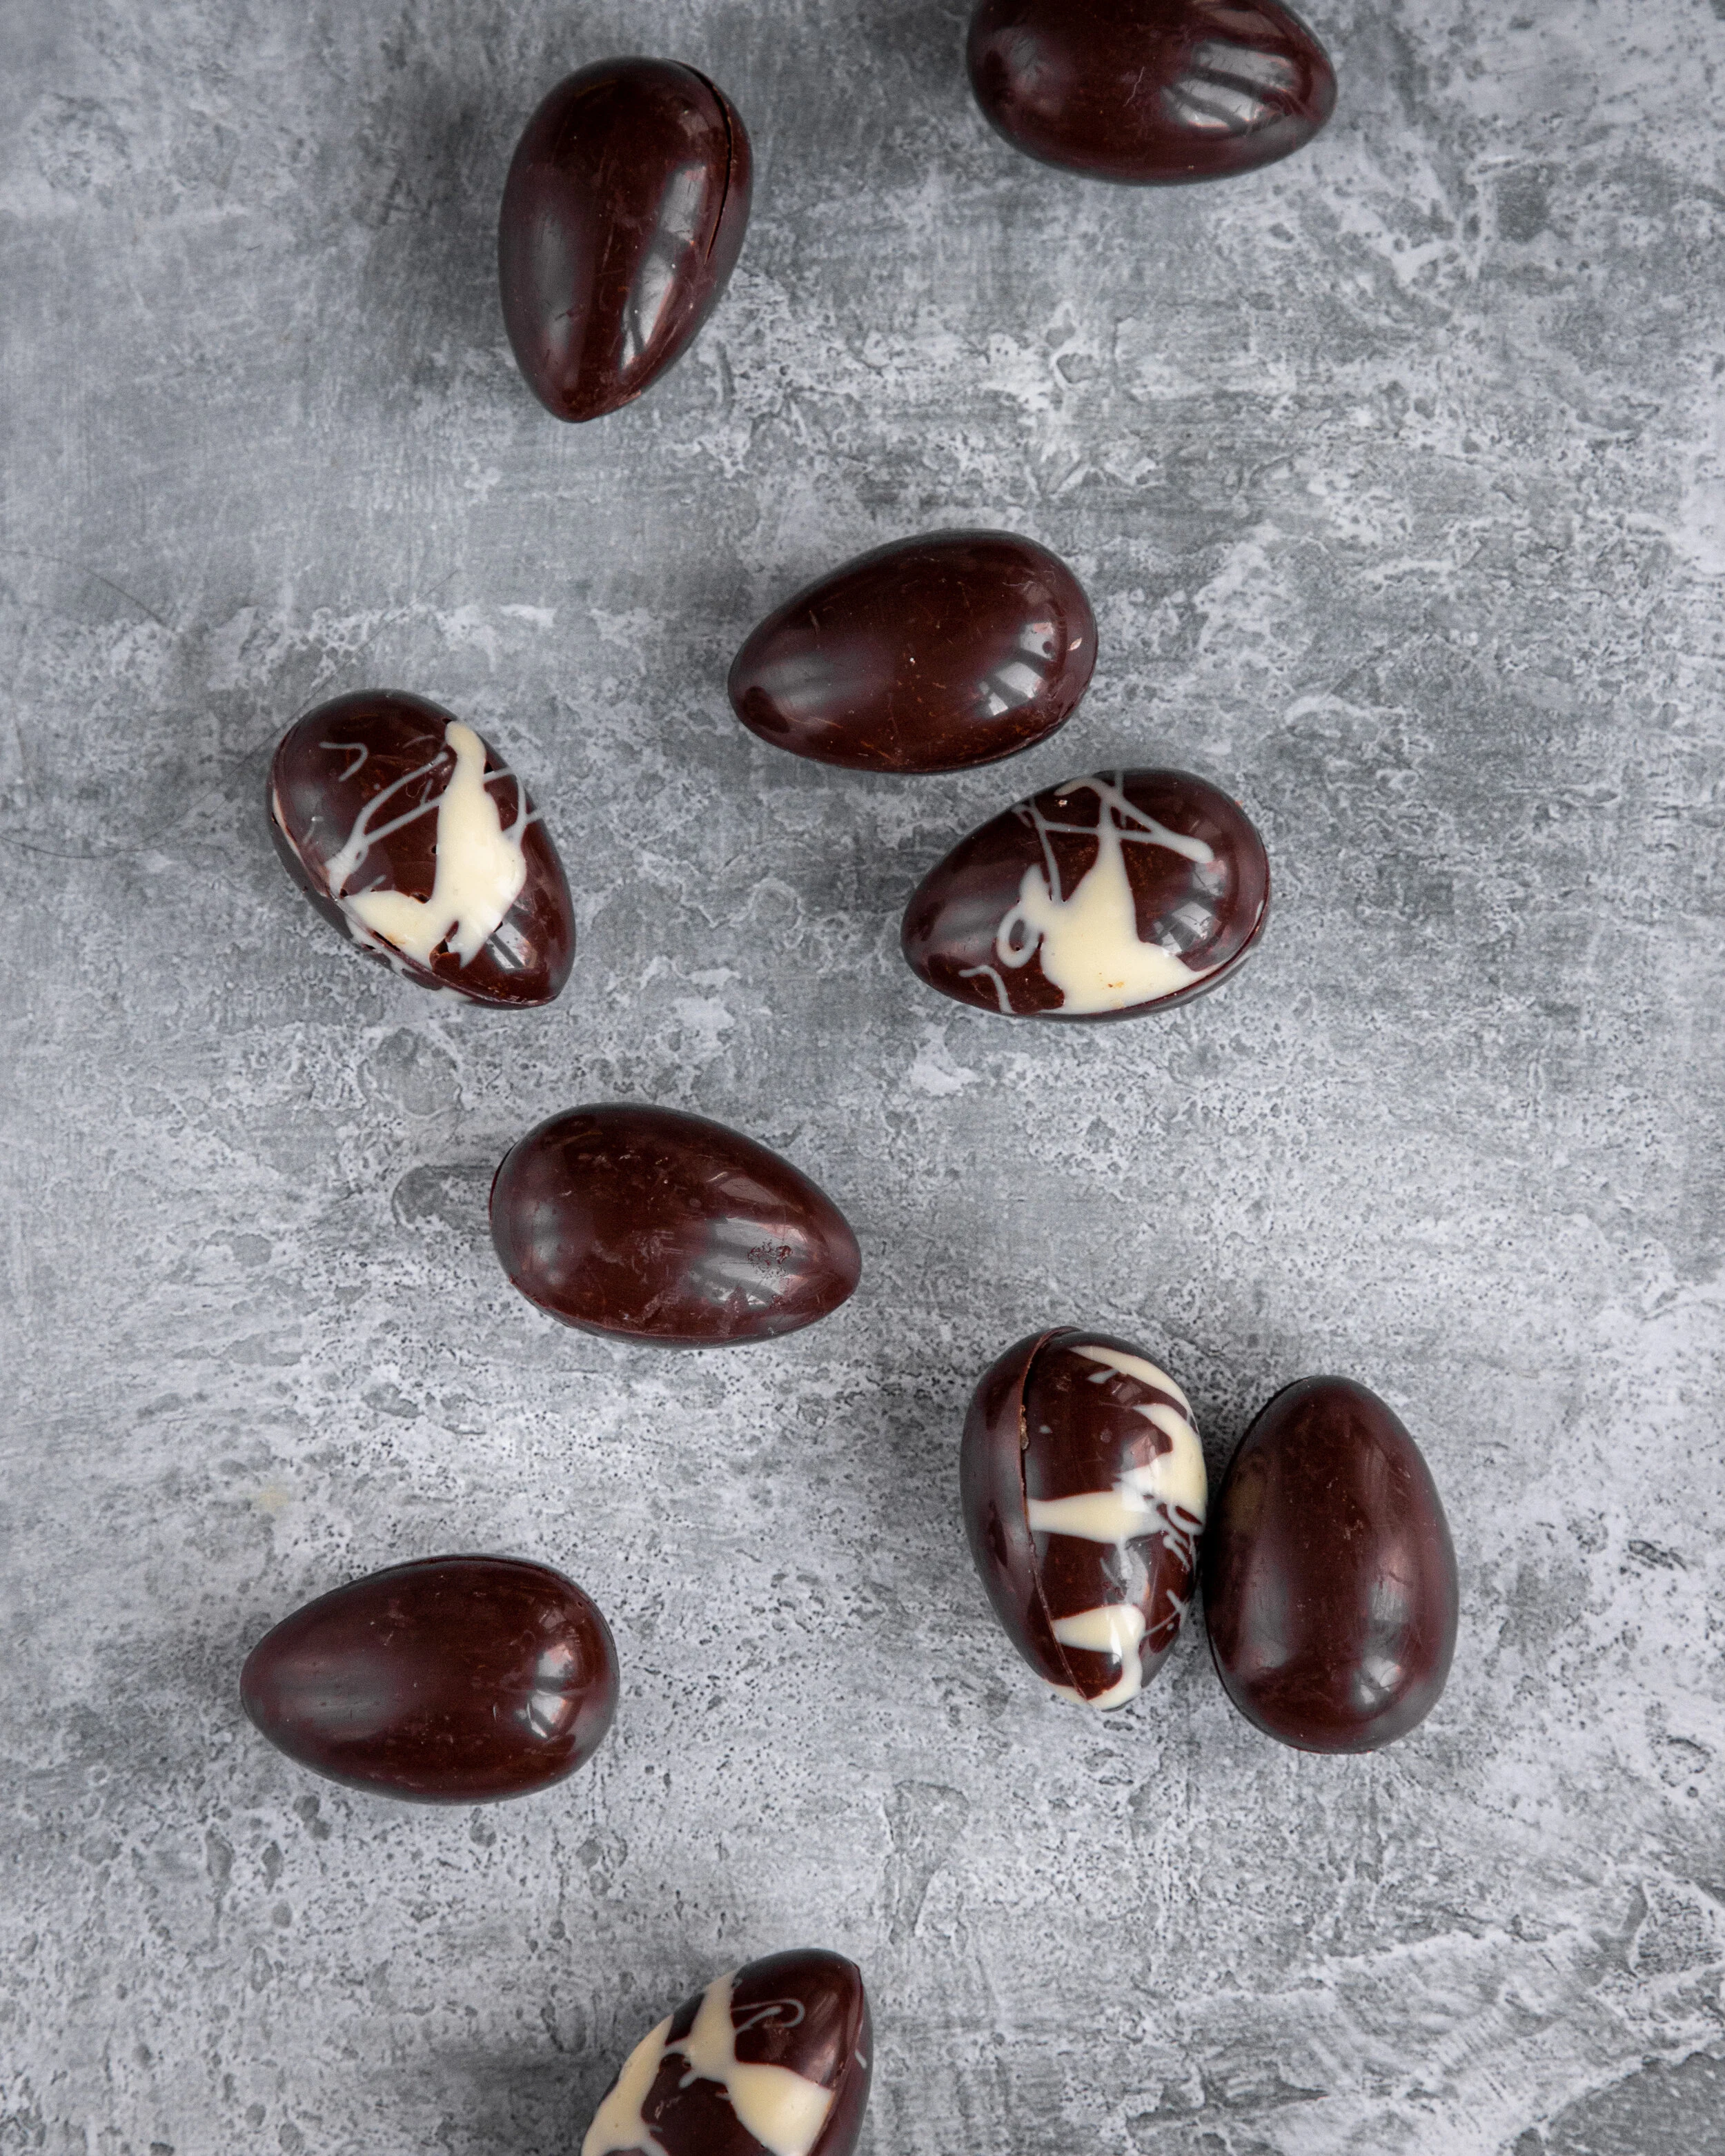
Chocolate Easter eggs

This is so exciting! I was basically preparing for making chocolate Easter eggs (or any kind of pralines) from Christmas. It’s because tempering chocolate can look intimidating. In case you don’t know, tempering chocolate means melting chocolate with the outcome of it being nicely crunchy and shiny. But honestly, it isn’t that bad - you only need to try it few times and you will be rewarded. Actually, you will be rewarded for any try with chocolate because it isn’t possible to make chocolate inedible. Be sure to read all the tips and tricks, it will help you a lot!
So these chocolate Easter eggs are healthyish - just dark chocolate and some nice vegan caramel. For this caramel I only used dates, tahini, salt and vanilla extract. I know, it is not exactly caramel like you know it but it is honestly really delicious, I love it.
What will you need?
Chocolate eggs mould - I have this one at home - it is polycarbonate and I know it does look a bit intimidating - you might think that if the chocolate is not tempered well, it might be difficult to get the eggs out. But I have been there and it always came out. It is a bit pricey though so I think this one might be better - it is silicone and it is actually decorated so if you are making those eggs for kids, it’s brilliant. If you have any silicone mould at home, you can use that, this certainly doesn’t have to be egg shaped.
Kitchen thermometer - I have just a cheap one, it is not that quick but it will do the job. I know that you might think you wouldn't use thermometer in the kitchen (and you might be of course right, it depends on what you cook or bake) but I actually like to have it - not just for chocolate but also for bread making. But in case you don’t have one, here is an article from The Kitchn about tempering chocolate without a thermometer.
Palette knife - don’t worry if you don’t have one - just use anything similar to it.


What kind of ingredients to use?
Dark chocolate - you can use any kind of good quality dark chocolate. Chop it into similar size pieces, they will melt evenly. I actually like to work with Callebaut chocolate, they already come as chips. I used 54% but if you like darker chocolate, use darker, it doesn’t make a difference.
Tahini - a great alternative to peanut butter in vegan caramel - it doesn’t taste like peanut butter you know what I mean? Haha, no really, it gives it a subtle tahini flavour, amazing! The tahini I used is a bit runny, which was great but if your tahini is a bit thicker, it will be even better.
Dates - they go perfectly with tahini! If you have medjool dates, use those - they are a bit softer. If you don’t, use any dates - you can always soak them.
Salt - a little salt goes a long way in sweet food. Trust me on this!
Vanilla extract - it adds deeper flavour.
Tips on how to make chocolate pralines
Why so much chocolate? You maybe thinking that you don’t need that much chocolate to cover relatively small amount of eggs. And you are right. But it is easier to handle bigger amount of chocolate. You won’t waste the rest - simply pour it onto a baking parchment, let it dry, transfer to a bag and use whenever you need to. Just don’t use it again for tempering (although you can use it to cool down the melted chocolate).
Another way how to melt chocolate - use a microwave and slowly melt it.
Before you use the mould - especially if you have the polycarbonate one (but the silicone one as well) - clean it properly with for example a cotton pad. If it isn’t clean, you might end up with not so shiny eggs.
What to do if you heat up chocolate too much? Honestly, it is not that big of an issue. As long as it isn’t too much - last time I was making these I wasn’t paying too much attention and heated up the chocolate to over 50°C, continued to temper and it turned out okay. Still crunchy, still shiny.
What to do if the chocolate becomes too thick while you are pouring it into the mould? Place the mould for few seconds somewhere warmer - in a microwave for example.
What is a bain marie? Basically a heatproof bowl (glass or metal) set over a saucepan with around 2cm of simmering water - just be careful so the water doesn’t touch the bowl.
How to do that marble effect? Before I tempered dark chocolate I melted white chocolate and then sprinkled it into the mould. But you can just melt white chocolate afterwards and create some patterns on already made eggs - much easier and still very pretty.
Makes 12 small eggs
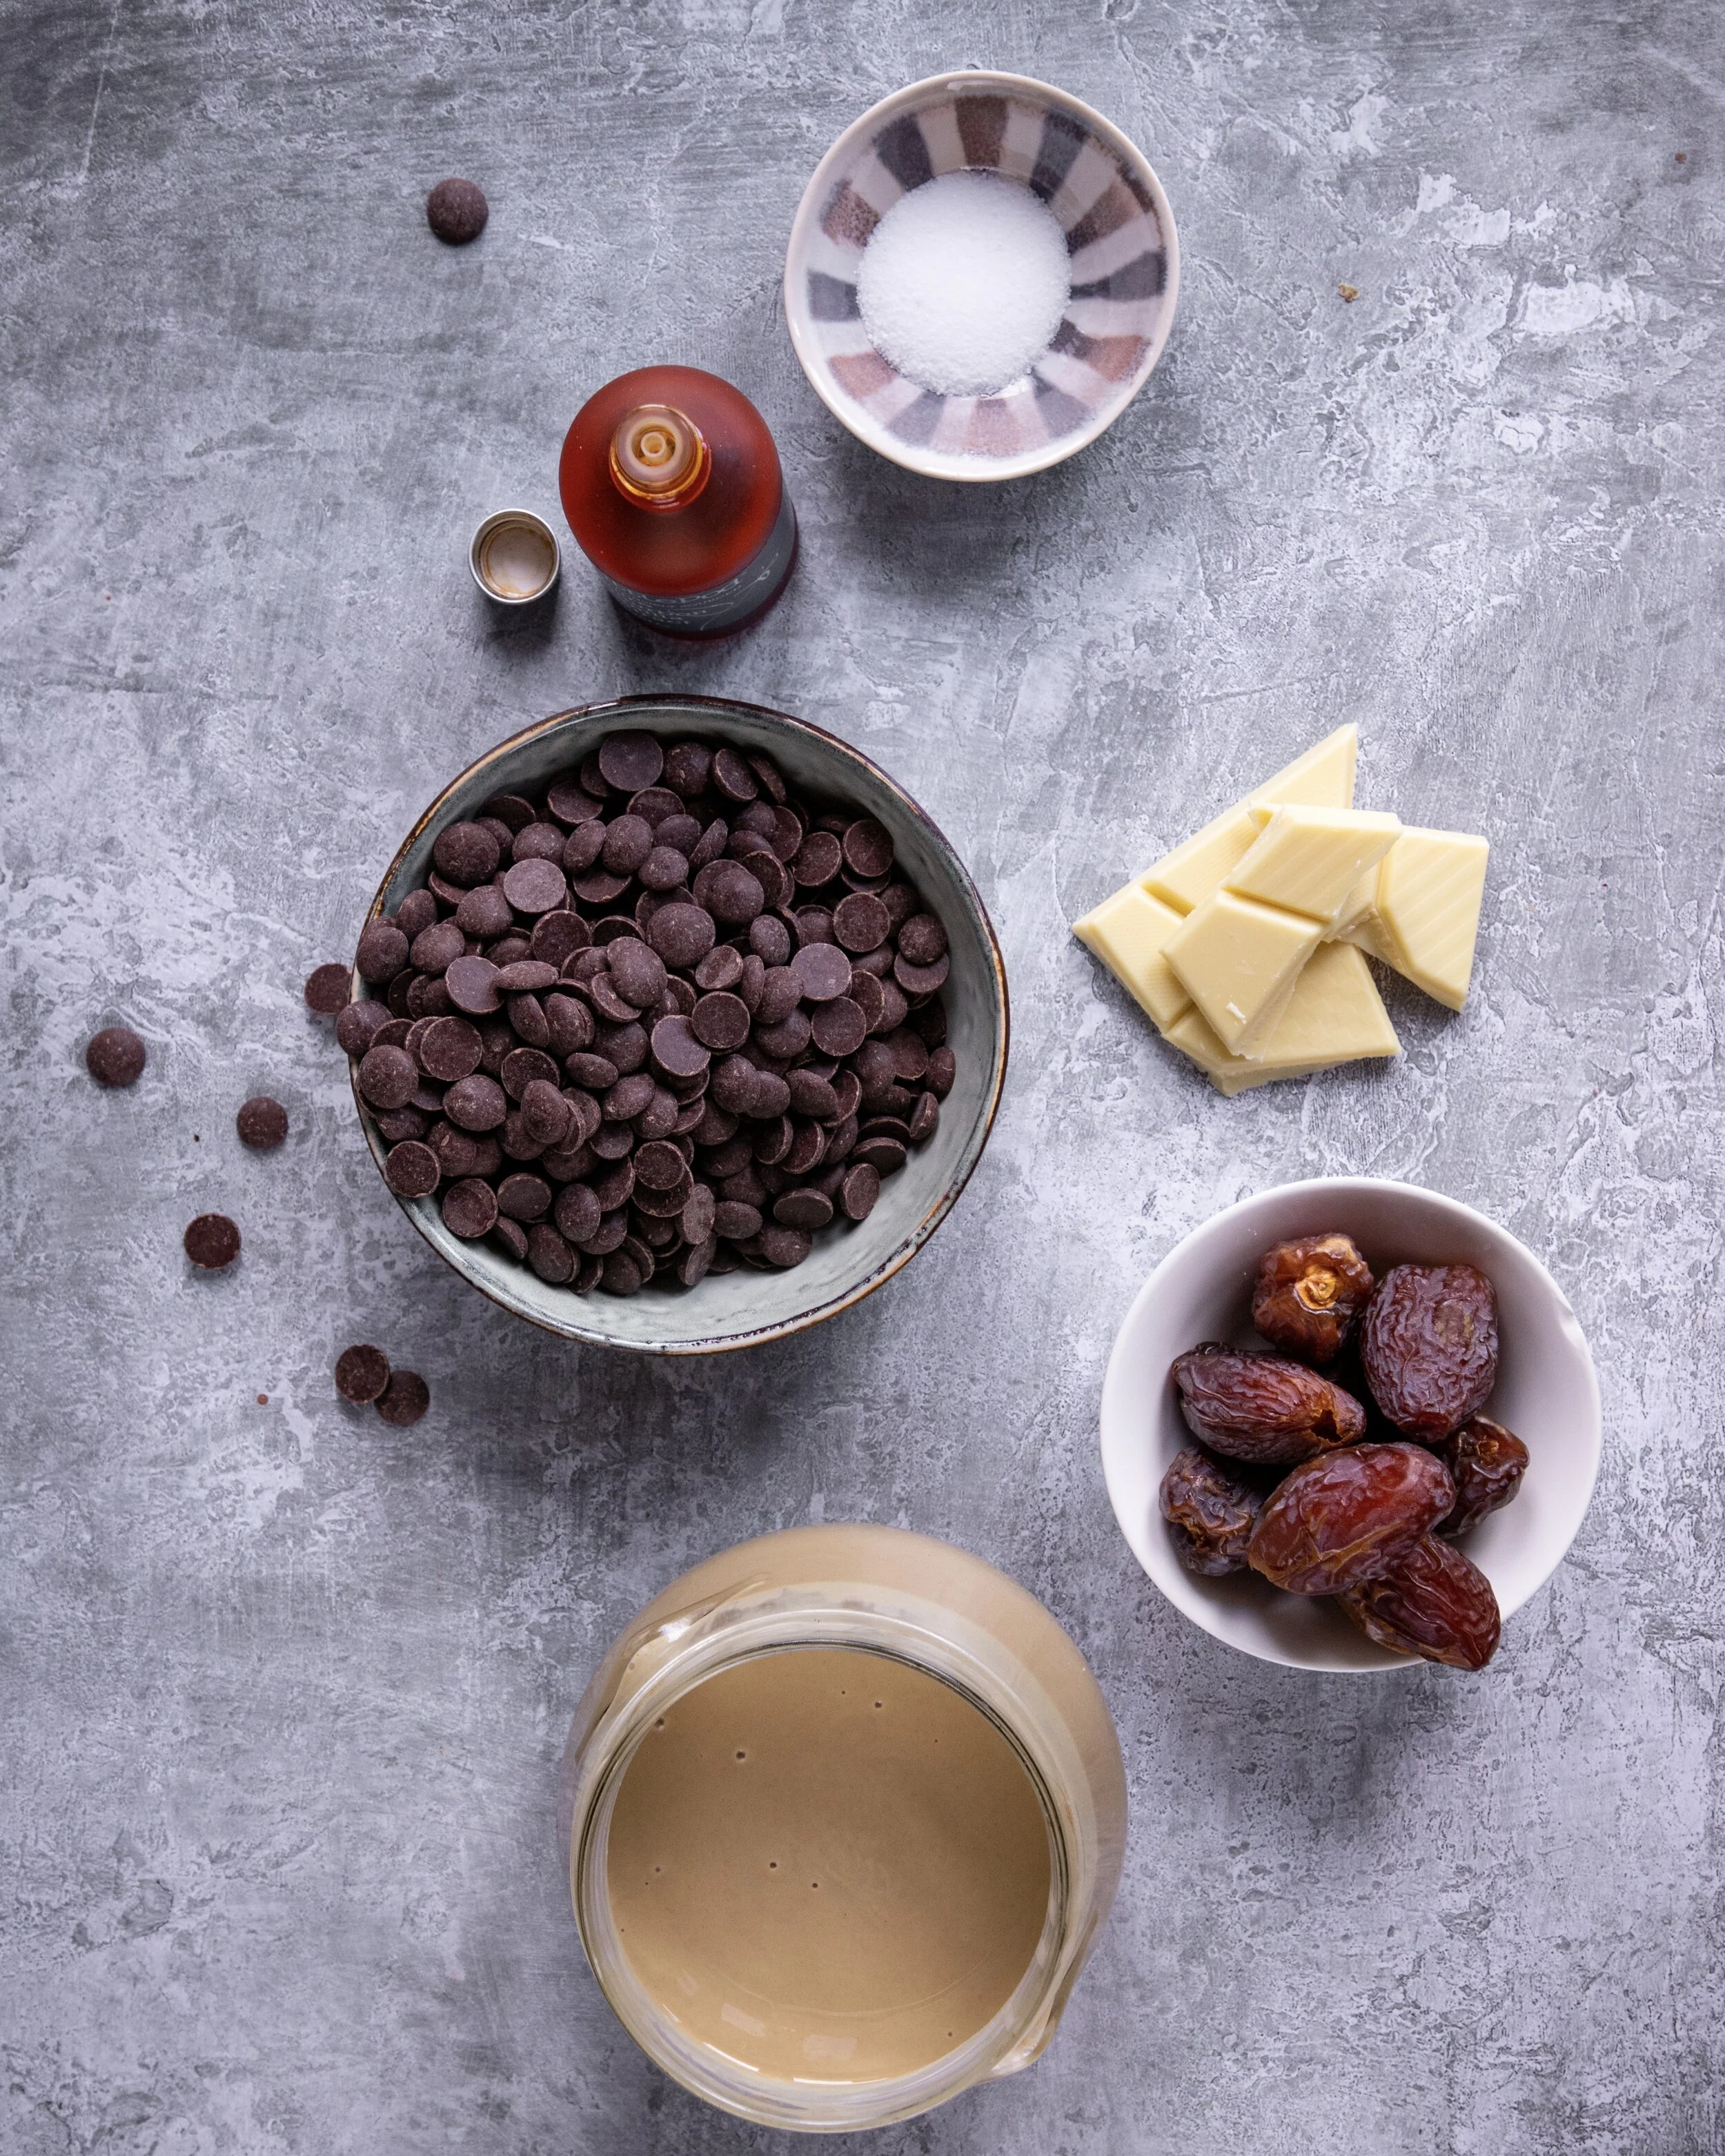
Ingredients
200g dark chocolate (55% or darker) - chopped into small pieces
50g tahini
100g dates (if you don’t have a powerful blender, soak them for about an hour)
pinch of salt
1/4tsp vanilla extract
Method
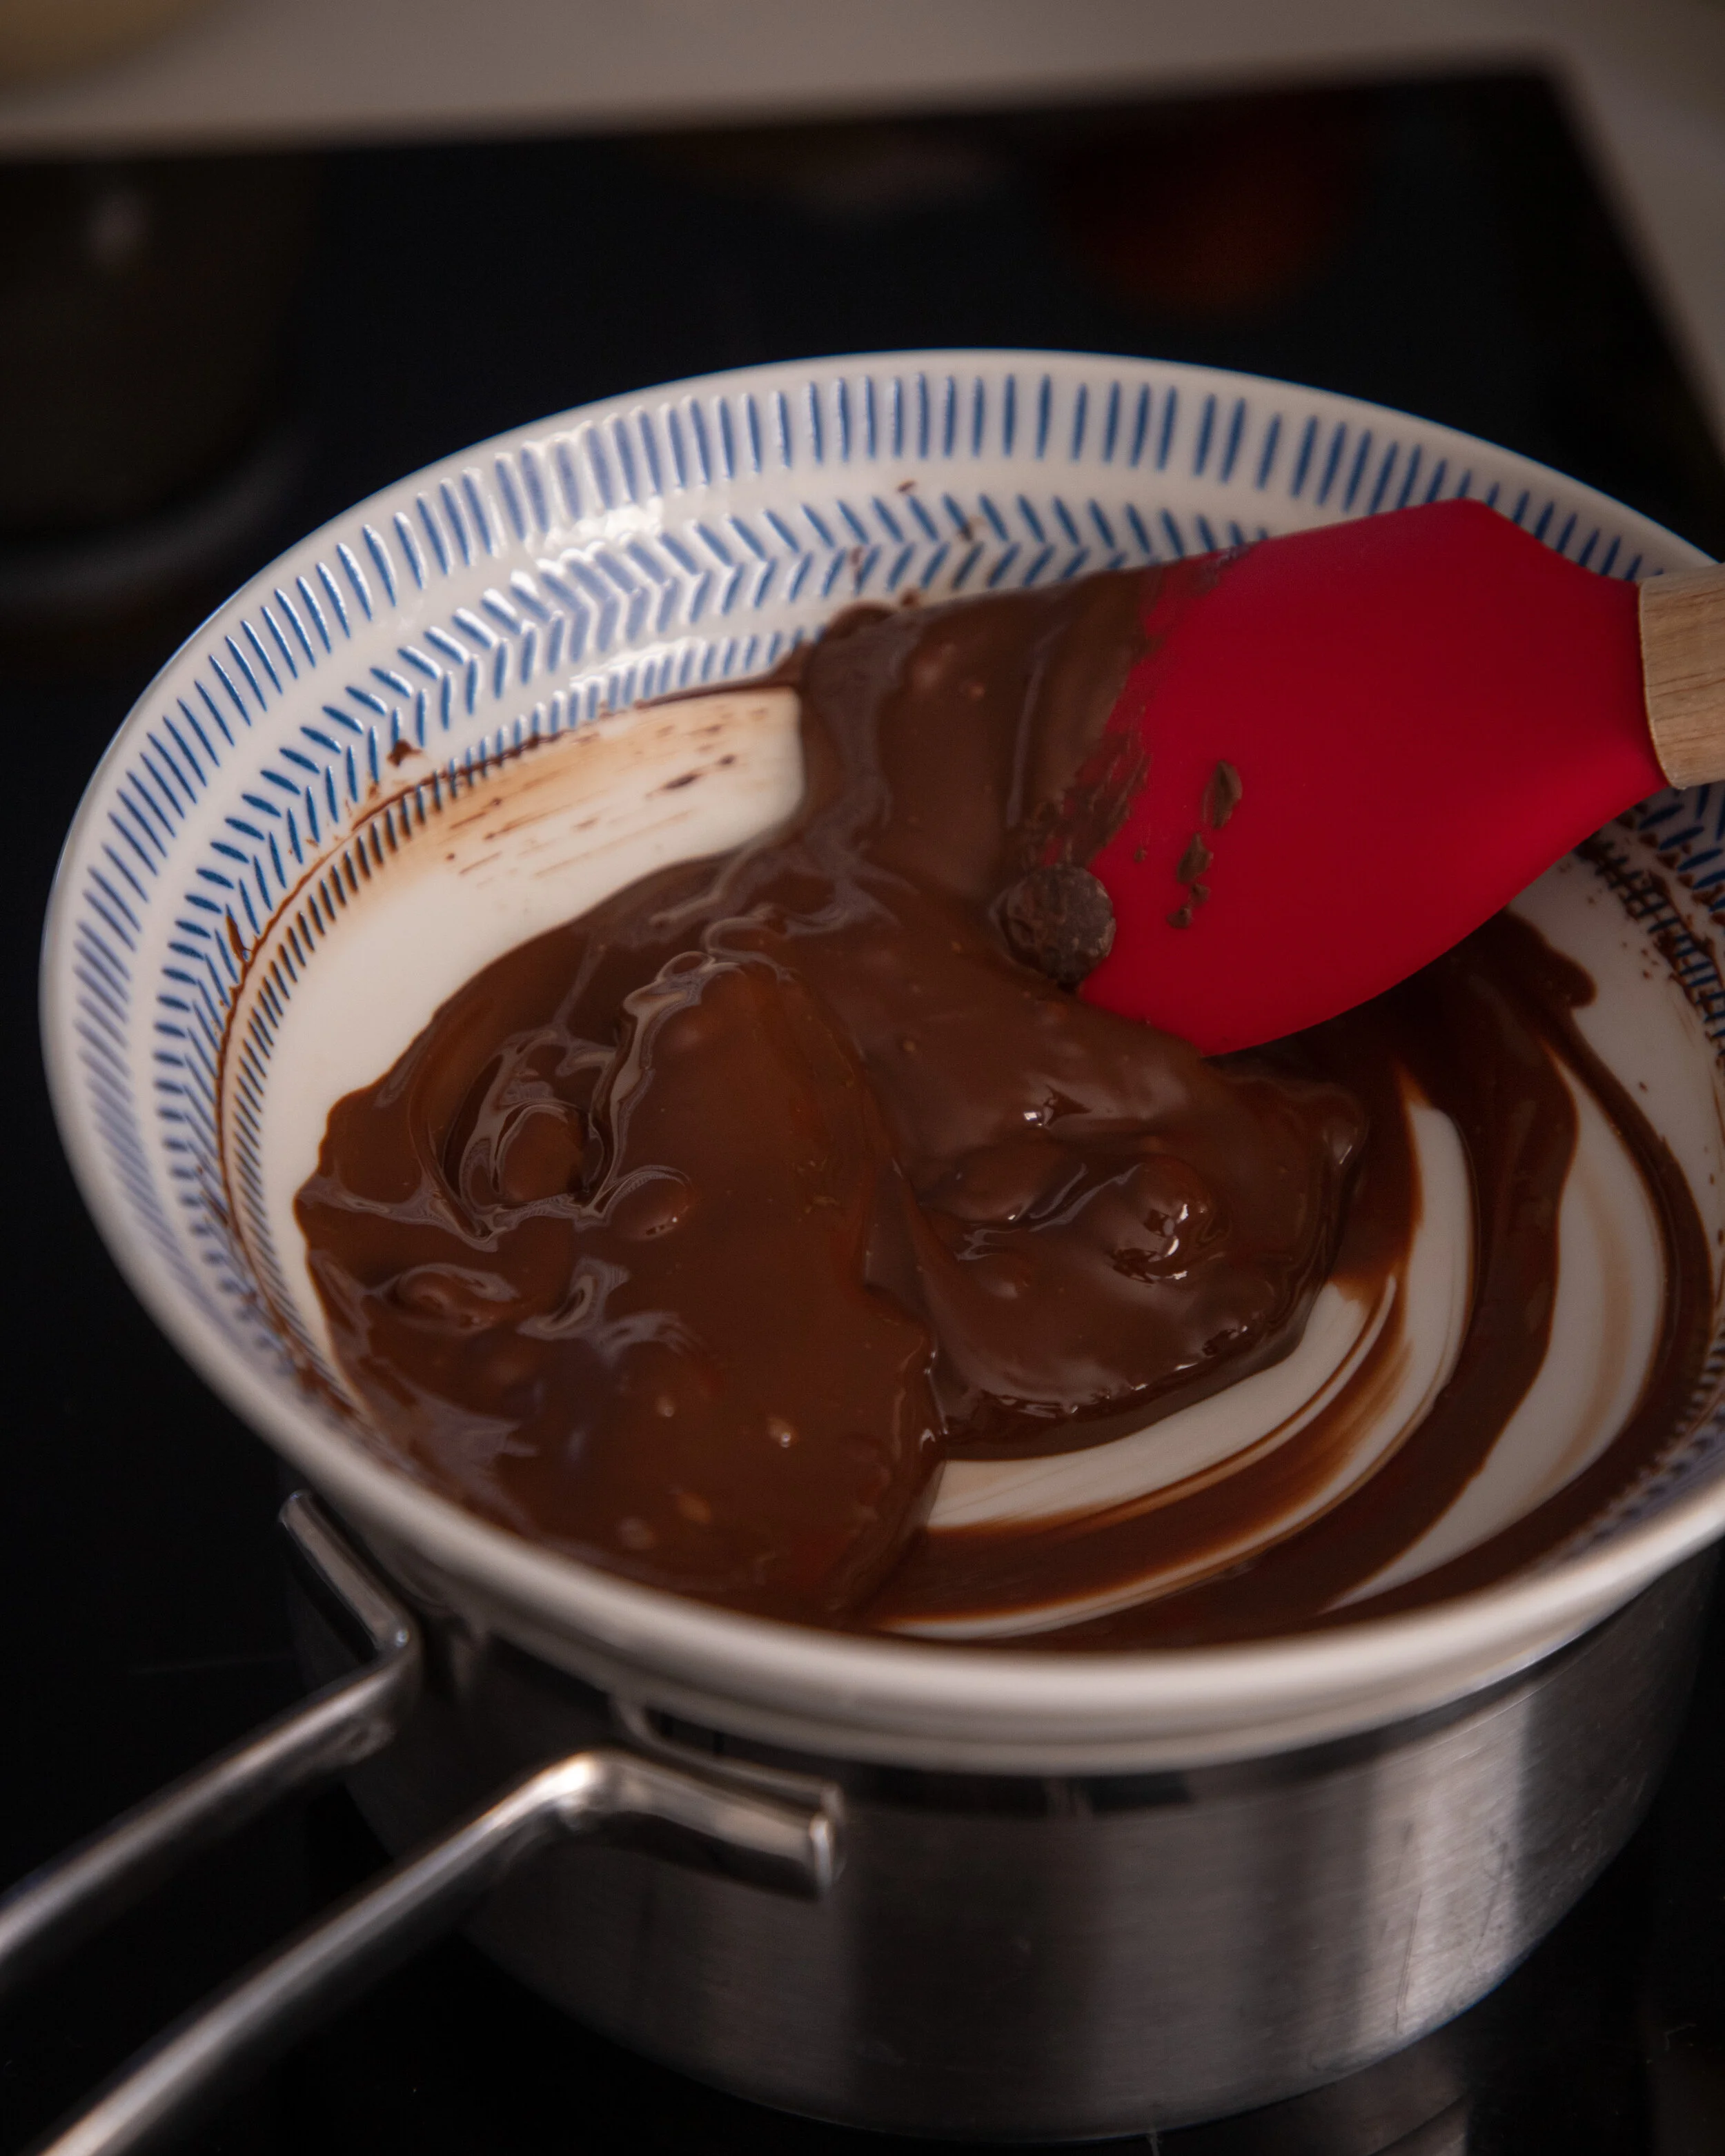
Add 2/3 of the chocolate into a heatproof bowl and melt over bain-marie of simmering water. Be careful - the bowl shouldn’t touch the simmering water.
Heat chocolate until it reaches 45-48°C. Remove the bowl with chocolate from the heat and start to add the remaining chocolate. Stir so all the chocolate is melted and when the chocolate temperature reaches 27°C, move it back over the saucepan.
Heat chocolate gently to 31-32°C. Remove bowl from the sauce and pour all the chocolate into the mould. Move and swirl it around a bit, so everything is coated. Smash the mould couple times on the countertop (it will make any air bubbles go away) and the turn around and let the chocolate pour away from the mould (either back into the bowl or onto a prepared baking sheet). Scrape the mould with a palette knife across the mould to clean it up. Leave it to set in the fridge.
Blend tahini, dates, salt and vanilla extract until smooth. Move into an icing bag and set aside.
Once the chocolate is set, take it out - with silicone moulds, carefully flex the moulds so they release chocolate eggs, with polycarbonate mould, gently smash it over the countertop and chocolate eggs should fall out.
Fill the chocolate eggs halves with tahini caramel - don’t over fill them.
Heat a baking sheet in the oven, take two chocolate halves and rub them for few seconds on the tray - they will melt a bit. Hold the halves together until they stick. Repeat with the rest.
Keep them in the fridge and eat within 4 days.